
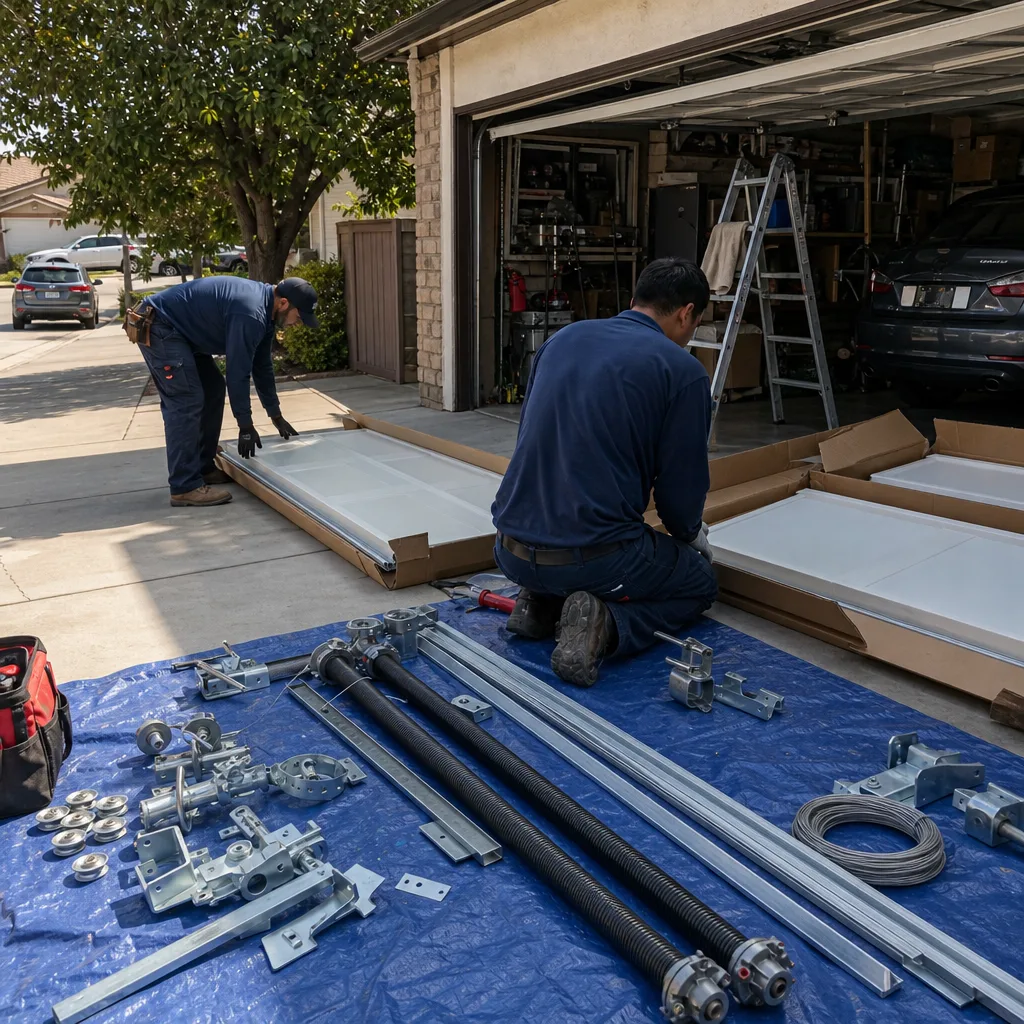
Last updated November 4, 2026
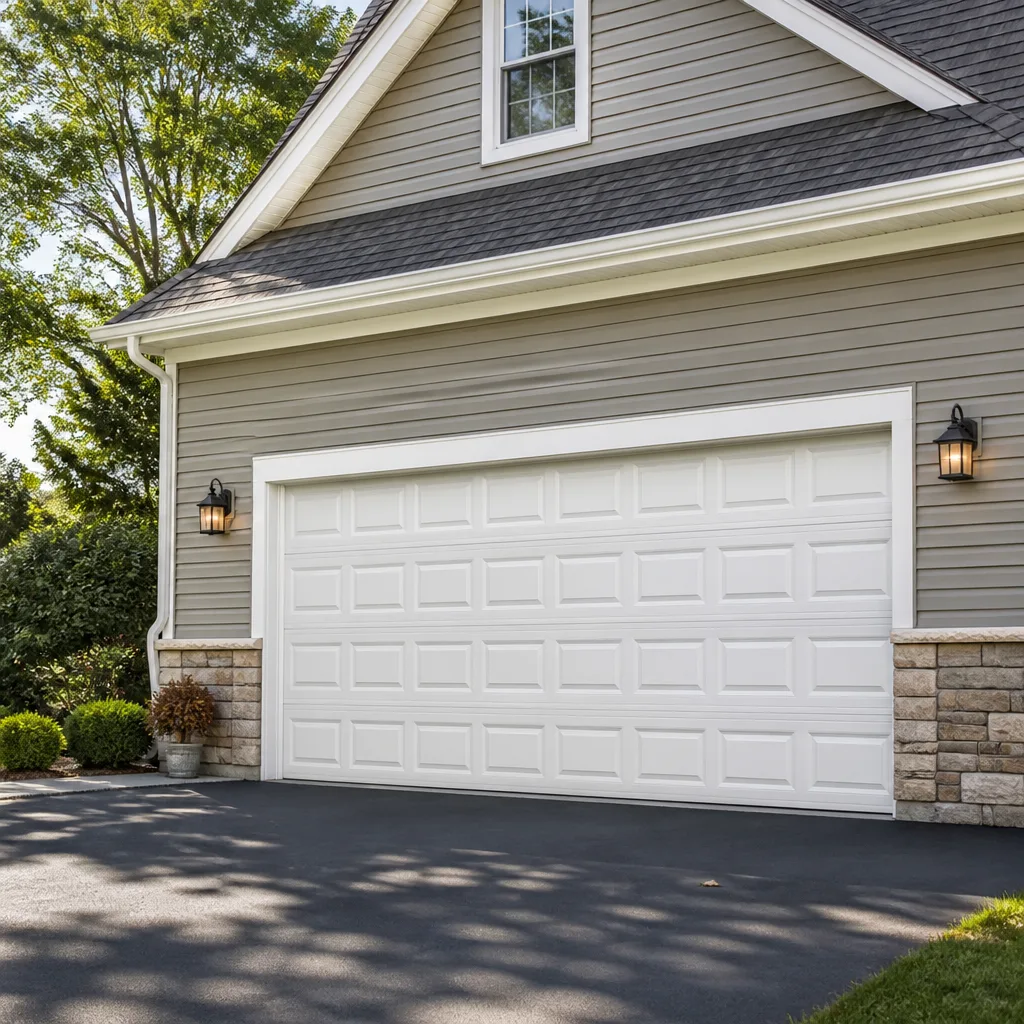 Raised-panel steel
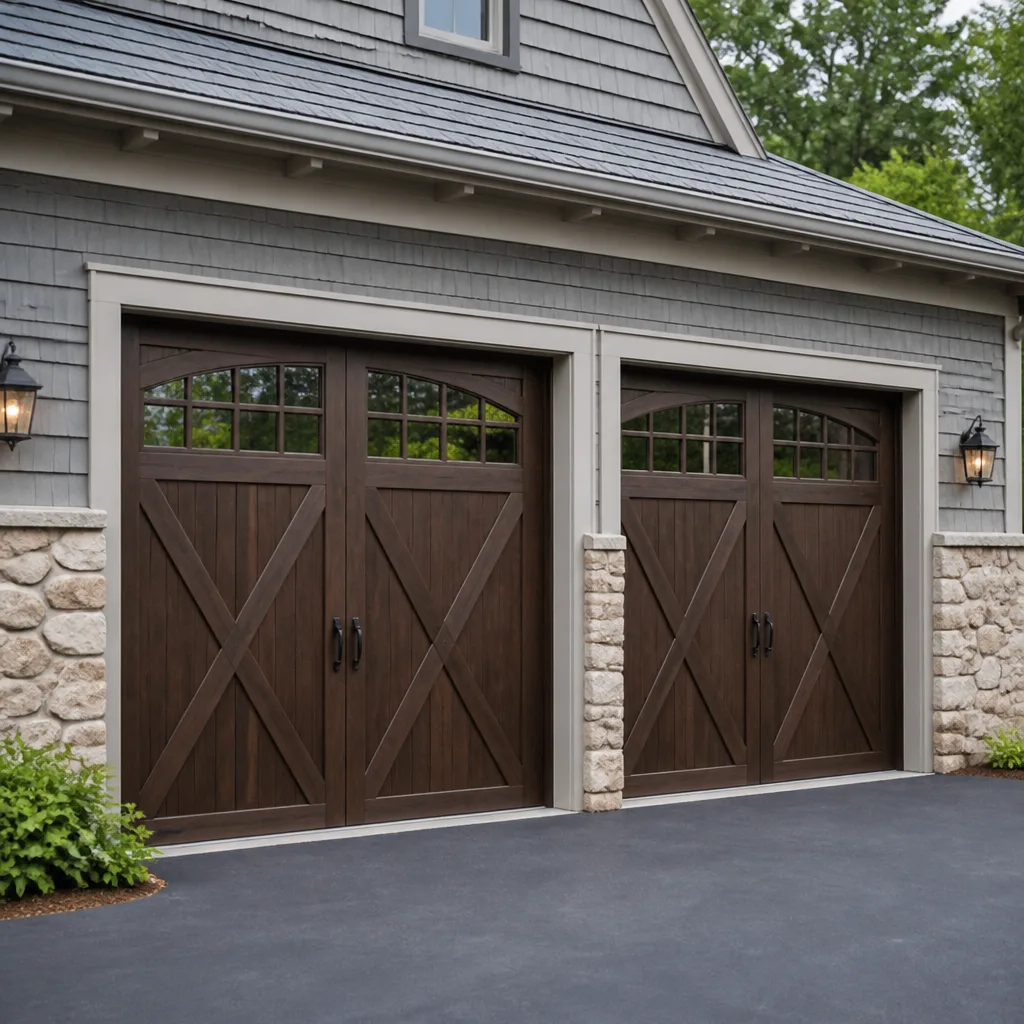 Carriage house
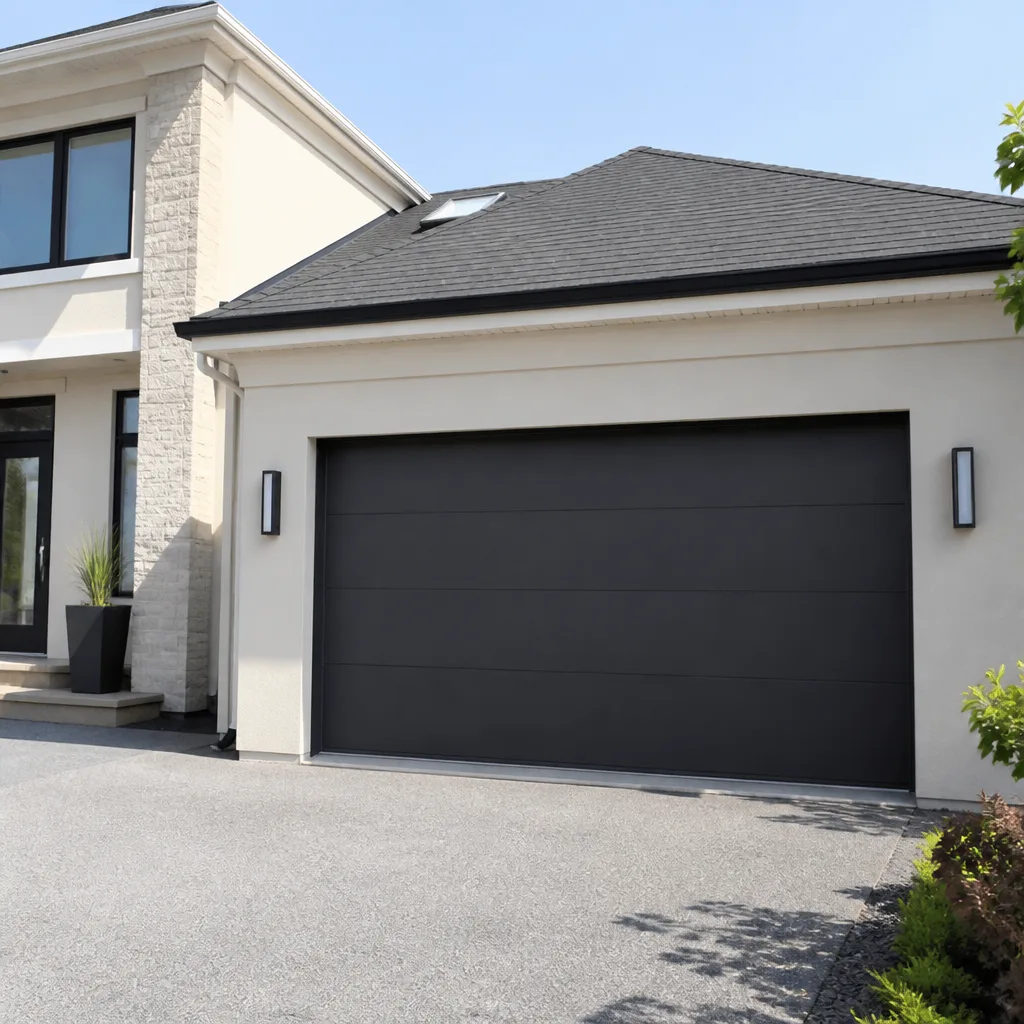 Modern flush
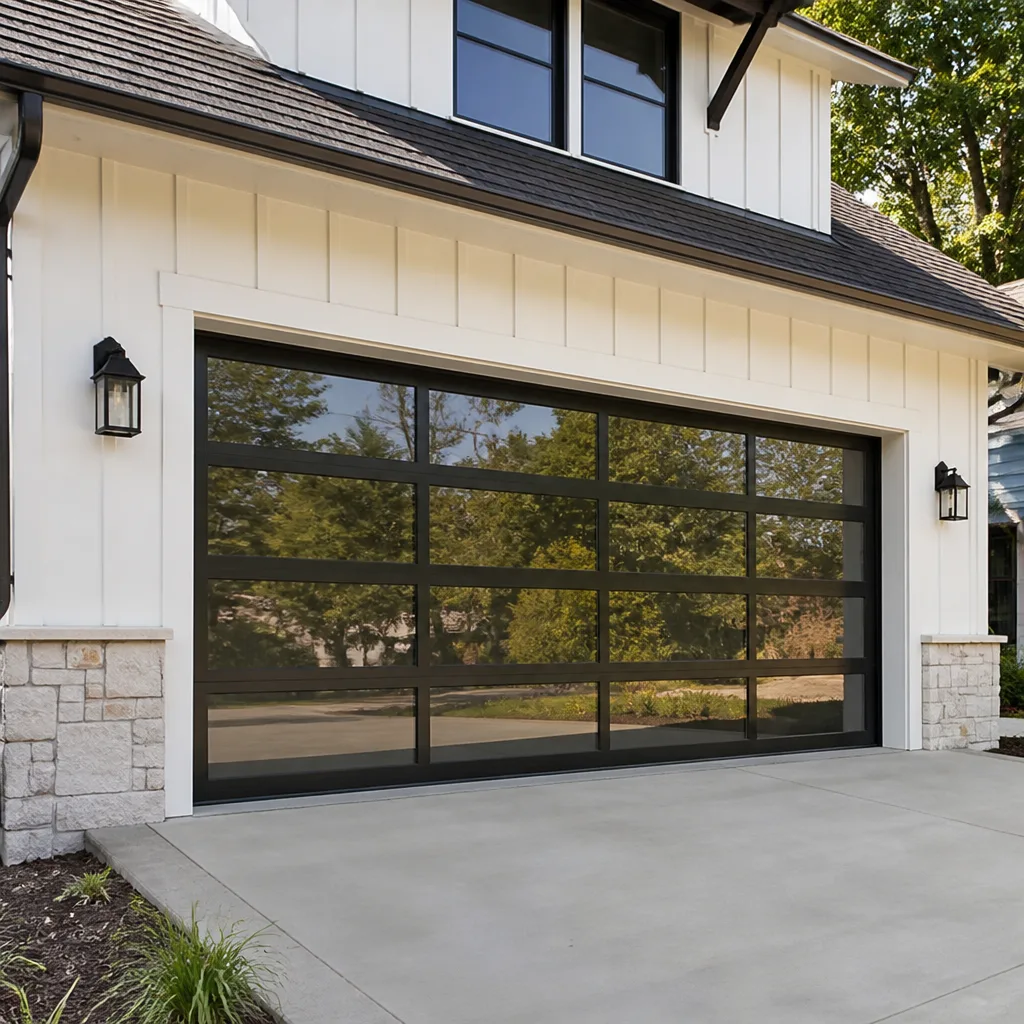 Full-view glass
 LiftMaster openers
 Chamberlain openers
Full 25-point door and opener safety check with every visit - springs, cables, rollers, tracks, and your LiftMaster or Chamberlain opener included
You get a price before we start. It does not change when the truck arrives.
Get your free estimateGarage Door Repair Maintenance Checklist for Monterey Park Homeowners
Most garage door maintenance checklists you’ll find online tell you to “lubricate moving parts” and “inspect for wear.” That’s about as useful as telling someone to “check the car.” The real question is: which parts, with what product, and what does failure actually look like before it strands you? In Monterey Park, where many homes were built between the 1950s and 1980s and still carry original or aging door systems, the difference between a five-minute catch and an $800 repair comes down to knowing what you’re looking at. This guide gives you that: part-by-part pass/fail indicators, the right lubricants for the right components, and the maintenance log notes that actually help a technician diagnose faster.
Quick Answer
The most important garage door maintenance tasks for Monterey Park homeowners are inspecting torsion springs for gaps and rust, checking cables for fraying, testing door balance without the opener, cleaning and aligning photo-eye sensors, and replacing rubber bottom seals every 2-4 years due to our high-UV, low-humidity climate. Lubricate rollers, hinges, and springs with a silicone-based spray twice a year. Avoid WD-40 on torsion springs entirely. Run the functional tests below every 90 days and log what you find.
Styles & brands we work with
- Raised-panel steel
- Carriage house
- Modern flush
- Full-view glass
- LiftMaster openers
- Chamberlain openers
Table of Contents
- Torsion Springs: What Failure Looks Like Before It Happens
- Cables: The Part That Tells You the Truth
- Rollers and Tracks: Monterey Park’s UV Problem
- Bottom Seals and Weatherstripping: Why Ours Fail Faster
- The Balance Test: Your Best Early Warning System
- Photo-Eye Sensors and Opener Logic
- The Lubrication Spec: What Goes Where
- The Maintenance Log That Actually Helps a Technician
Torsion Springs: What Failure Looks Like Before It Happens
Torsion springs do the heavy lifting. When one snaps, the door becomes dead weight and the opener strains against it, sometimes burning out its own motor in the process. So catching a spring before it fails isn’t just about avoiding a broken spring. It’s about protecting the whole system.
Here’s what to look for on the spring assembly above your closed door:
- A visible gap in the coil. A healthy torsion spring is one continuous coil. If you see a separation anywhere along its length, that spring has already fractured and is no longer carrying its share of the load. This is a “replace now” finding, not a “keep an eye on it” finding.
- Rust blooming at the ends. Some surface rust is normal on older springs, especially in uninsulated garages. But heavy rust at the winding cone or the stationary cone indicates the spring has been exposed to moisture repeatedly. Rusted springs fail sooner, and they fail without warning.
- The door feels heavier than it used to. This is the functional test. Disconnect the opener (pull the red release handle) and lift the door manually. It should feel light, around 8-10 pounds of effort. If it feels like lifting a bag of concrete, the springs are losing tension and the opener has been compensating for it, which shortens opener life.
- Loud creaking when the door moves. Springs that creak or groan are often coils binding against each other due to uneven wear. Light lubrication can quiet this temporarily, but a spring that’s been creaking for months is telling you something structural is off.
Safety note: Torsion springs are under hundreds of pounds of tension. Never attempt to adjust, remove, or replace them yourself. Even inspection should be done visually from the floor or a step stool, never with your hands on the spring itself. If you see a gap or heavy rust, call a professional. We work on doors that use springs compatible with Clopay, Amarr, and Wayne Dalton systems, among others, so we’re familiar with the specific spring types already in most Monterey Park garages.
Cables: The Part That Tells You the Truth
Cables are the best narrators in a garage door system. They don’t lie. While springs can hide their fatigue until the moment they snap, cables show their age visibly, strand by strand. A homeowner doing a monthly visual check on cables will almost always see the problem coming.
Look at the two cables running along each side of the door, from the bottom bracket up to the drums above:
- Fraying anywhere along the cable length. Even two or three broken strands is a red flag. Cables don’t fray from normal operation. They fray because the cable is rubbing against the drum edge, the door is slightly out of alignment, or the cable is nearing the end of its service life. A frayed cable can snap without additional warning, and a snapped cable under tension can whip.
- Rust or corrosion near the bottom bracket. The bottom bracket area catches more moisture than any other part of the cable run. In Monterey Park, where garages are often part of the house envelope and see temperature swings between day and night even in mild months, condensation can form on metal parts in the early morning. Check this area specifically.
- Slack in one cable when the door is closed. Both cables should be taut at rest. If one is loose while the other is tight, the door is out of alignment, or a cable has jumped its drum groove. This is a service call.
Never touch a cable under tension. Visual inspection only. If you spot any of the above, the fix is a replacement cable and re-balancing of the door, which is a professional job. We’ve seen too many homeowners in Monterey Park ignore a frayed cable for months, only to have it snap mid-cycle and drop the door on the vehicle or, worse, on the person walking under it.
Rollers and Tracks: Monterey Park’s UV Problem
Here’s where Monterey Park weather works against you in a way most national checklists don’t account for. Our climate is dry and sunny. That means metal parts last reasonably well, but nylon and rubber degrade faster than in coastal zones. Nylon rollers, which contain internal bearings and a plastic outer wheel, harden and crack under prolonged UV exposure and low humidity. If your garage faces south or west and the door gets direct afternoon sun, the rollers are baking for hours every day.
What that means in practical terms:
- Inspect rollers twice a year, not once. Look for cracks radiating from the center bearing, flattened spots on the wheel, or visible wobble when the door moves. A cracked nylon roller can shatter while the door is in motion, jamming the door in its track.
- Listen for grinding or metal-on-metal sound. This usually means the bearing inside the roller has failed and the wheel is no longer spinning freely. It’s scraping along the track. The roller is already broken; you’re just hearing its final stage.
- Steel rollers are not a longevity upgrade in this climate. Some homeowners think replacing nylon with steel means more durability. Steel rollers are noisier and transfer more vibration to the hinges and track brackets. They don’t solve the UV issue; they just change the failure mode. Quality nylon rollers with sealed bearings are the right call for Monterey Park garages.
- Track alignment matters more than you think. The tracks should be parallel to each other and perpendicular to the floor. If you see scuff marks on the inside of a track, or if the door seems to hesitate at the same spot every time, the track has shifted slightly and is binding the rollers. Looseness at the track brackets is common on older Monterey Park homes where the garage framing has settled over decades.
In our experience, roller replacement is one of the most overlooked maintenance items in this area. A set of ten rollers typically costs far less than the damage caused when a shattered roller jams the door mid-cycle and bends the track.
Bottom Seals and Weatherstripping: Why Ours Fail Faster
The rubber or vinyl bottom seal on your garage door has one job: keep water, dust, and pests out. In Monterey Park’s dry, sunny climate, that seal is fighting a losing battle against UV radiation and heat. Rubber compounds oxidize and shrink. Vinyl becomes brittle and cracks. Coastal California doesn’t have this problem in the same way because higher humidity keeps rubber compounds more pliable.
Here’s what to check and how often:
- Run your hand along the bottom seal monthly. It should be soft and flexible, not stiff or crumbly. If pieces flake off when you touch it, it’s already gone.
- Look for gaps where the seal meets the floor. Even a half-inch gap lets in dust, leaves, and rodents. In Monterey Park’s dry months, that dust builds up on your opener rail and gets into the tracks, creating additional wear.
- Replace the seal every 2-4 years here specifically. National guides say every 5 years. Our climate and its UV load shorten that to the 2-4 year range, particularly if the door gets direct afternoon sun. The seal is inexpensive relative to the cost of rodent damage to wiring or the cleanup after a heavy winter rain finds a gap.
- Check the side and top weatherstripping too. These see less UV than the bottom seal because they’re shaded by the door frame, but they still age. Look for gaps where the stripping has pulled away from the frame or flattened permanently.
Replacing a bottom seal is a homeowner-level task on most doors. The seal slides into a channel on the bottom of the door, and the old one pulls out. But on some older doors, particularly those still carrying original equipment from the 1960s and 70s, the channel has corroded or deformed, and the new seal won’t seat properly. If you find yourself forcing it, stop. A bent channel means the whole bottom retainer needs replacement, which we handle as part of a standard garage door repair visit.
The Balance Test: Your Best Early Warning System
This is the single most valuable functional test a homeowner can perform, and it takes about 60 seconds. It’s called the balance test, and it tells you whether your springs are doing their job.
Here’s how it works:
- Close the garage door completely.
- Pull the red release handle on the opener rail. This disconnects the door from the opener carriage.
- Lift the door manually to the halfway point and let go.
- Observe what happens.
A properly balanced door stays roughly where you left it. It might drift up or down an inch or two, but it should essentially hold its position at the halfway point. A door that slams down is a clear sign the torsion springs are losing tension. A door that flies up on its own means the springs are over-tensioned, which is less common but just as much of a problem.
Run this test every 90 days. It’s more reliable than a visual inspection because it measures actual spring function under load. A spring can look fine and still be failing, but it can’t fake the balance test.
There’s also the “dollar bill test” for the bottom seal, which pairs well with the balance test:
- Close the door on a dollar bill placed on the floor where the seal meets the concrete.
- Try to pull the bill out.
- If it slides out easily with no resistance, the seal isn’t making proper contact, and you have a gap.
- Do this in three spots: left side, center, right side. Concrete floors settle unevenly, and you may have a gap on one side only.
Both tests are free, take almost no time, and catch the two most common Monterey Park issues: tired springs and dried-out seals.
Photo-Eye Sensors and Opener Logic
Your opener’s photo-eye sensors sit about six inches off the floor, one on each side of the door opening. They project an invisible beam across the opening. If anything breaks that beam while the door is closing, the opener reverses. It’s a safety system, and it’s also the source of more false repair calls than any other component.
Here’s the maintenance routine that prevents most sensor issues:
- Wipe the sensor lenses monthly. Dust, spider webs, and pollen accumulate on the lenses and can scatter the beam enough to trigger a false “obstruction” reading. A dry microfiber cloth is all you need.
- Check the sensor alignment. Each sensor has a small LED. On most openers, including LiftMaster, Chamberlain, and Genie models, a solid light means the beam is aligned and unbroken. A blinking light means misalignment or obstruction. Adjust the sensor bracket gently until the light turns solid.
- Look for loose wiring. The low-voltage wires running from each sensor to the opener head should be secure and free of nicks. If a wire has been chewed by rodents, which is common in Monterey Park garages, the sensor will work intermittently.
- Test the auto-reverse force monthly. Place a roll of paper towels or a 2×4 flat on the ground in the door’s path. Close the door. It should reverse within two seconds of contact and rise back up. If it doesn’t, the opener’s force setting is too high, and this is a safety hazard. This test catches opener problems before they become injuries.
Opener logic issues sometimes look like mechanical problems. If your door reverses halfway down for no apparent reason, and the sensors are clean and aligned, the opener’s travel limits or force settings may have drifted. This is especially common on older Craftsman and Genie units still running in Monterey Park garages. A garage door opener repair visit starts with confirming the mechanical system is sound, then moving to the control board and limit switches. We carry components for LiftMaster and Chamberlain systems, which cover most of the smart-home-compatible openers installed in this area.
The Lubrication Spec: What Goes Where
The opening hook of this guide mentioned WD-40 on torsion springs as a common cause of premature spring failure. Let’s be specific about why, because this is the single most misunderstood maintenance task in garage door ownership.
WD-40 is a water displacer and solvent. It’s not a lubricant. When you spray it on a torsion spring, it initially quiets the coils and makes the spring look cleaner. But it also strips whatever lubricant was there, evaporates, and leaves the metal nearly dry. The spring then operates with metal-on-metal friction between coils, which generates heat, which accelerates fatigue, which leads to spring failure. Every professional has seen springs that failed early after a homeowner “maintained” them with WD-40.
Here’s the correct product-to-part mapping:
- Torsion springs: Silicone-based spray lubricant only. Apply a light coat to the coils while the door is closed, then run the door through a full cycle to distribute it. Do this twice a year. Never use grease on springs. Grease captures dust and grit in a climate as dry and dusty as Monterey Park’s, which becomes an abrasive paste that wrecks the spring coating.
- Rollers: Silicone spray on the bearing and the stem. If the rollers are sealed-bearing nylon, they do not need lubrication at all, but a light silicone spray on the stem where it meets the hinge is fine. Do not use white lithium grease on rollers. It attracts dust and creates the same abrasive paste problem.
- Hinges: White lithium grease in a thin coat on the pivot points. Hinges are metal-on-metal and need a product that stays put under load. Silicone spray is too thin for hinges. Over-lubricating hinges causes drips that end up on the door face.
- Track: Nothing, ever. The track is not a lubrication surface. Rollers are designed to roll, not slide, on the track. Adding grease to the track attracts dust, creates buildup, and causes the rollers to skid instead of roll, which flat-spots nylon wheels. If your door is noisy on the track, the problem is rollers or alignment, not lack of lubrication.
- Opener rail: If it’s a screw-drive opener (common on older Genie and some Craftsman units), apply white lithium grease to the screw once a year. If it’s a belt or chain drive, the rail needs no lubrication. Belt and chain drive systems are sealed and self-lubricating in the case of belts, or lubricated at the factory in the case of chains.
The rule that simplifies all of this: if a professional could explain in one sentence where the lubricant needs to go and why, use the right product for that specific job. If you’re reaching for a can of something “multi-purpose” to spray on everything, you’re about to cause more problems than you solve.
The Maintenance Log That Actually Helps a Technician
Most homeowners either don’t keep a maintenance log or write down notes so vague they’re useless. “Door is noisy” is not a diagnostic. “Door is noisy” could mean a dozen different things, and the technician will have to reproduce the problem and diagnose it from scratch, which costs you time.
Here’s what to write down, and when:
- Date and specific sound: “March 12. Grinding sound from left side, louder when door passes midpoint. Not present when opening manually.” That tells us a lot. It suggests a roller or hinge issue on the left side, possibly only active under opener load, which points to a specific roller or bracket.
- Balance test results: “June 3. Door holds at midpoint. Slight downward drift, about 2 inches in 10 seconds.” A trend of increasing drift over successive checks tells us the springs are degrading on a predictable curve, and we can schedule replacement before failure.
- Sensor behavior: “August 18. Left sensor LED blinking after dust storm. Cleaned lens, light went solid.” This tells us the sensor was dirty, not failing. If it recurs repeatedly, we look for a wiring or vibration issue.
- Any opener code or beep pattern: Modern openers, especially LiftMaster and Chamberlain units, blink diagnostic codes when something is wrong. Count the blinks and write them down. “Five flashes on opener, door reverses immediately after closing” is a specific diagnostic for a specific problem.
- What you lubricated and when: “November 2. Silicone spray on springs and roller stems. White lithium on hinges.” This prevents over-lubrication. More lubrication is not better. If you’ve lubricated every month for six months, that’s part of the diagnostic picture.
Keep this log in a notepad near the opener button, or in a notes app. When you call Stonegate Garage Door Repair, read the relevant entries to the dispatcher. This is one of the few things a homeowner can do to genuinely speed up a diagnosis before the technician arrives. It turns “we’ll figure it out when we get there” into “we know what we’re looking for.”
Common Mistakes to Avoid
- Using WD-40 on torsion springs. It strips lubricant and accelerates spring failure. Use a silicone spray instead, twice a year.
- Greasing the track. The track should be completely dry and clean. Grease on the track flat-spots rollers and creates a dust-grit paste that wears everything faster, especially in Monterey Park’s dry, dusty months.
- Ignoring a frayed cable because “it still works.” A frayed cable is already failing. It can snap the next day or the next month, and when it snaps, the door can drop. This is not a monitor-it situation.
- Not running the balance test because the door “seems fine.” The door can open and close normally while the springs are slowly losing tension. The opener hides the problem by compensating. By the time you notice, the opener has been working overtime for months.
- Replacing springs with whatever size “looks the same.” Spring tension is calibrated to the exact weight and height of your specific door. A spring that’s close but not right causes the opener to work too hard or the door to slam. This is a professional measurement and installation job.
- Forcing a new bottom seal into a corroded channel. If the channel is bent or rusted, the new seal won’t seat, and you’ll damage the retainer. Monterey Park homes with original doors from the 60s and 70s frequently have this issue.
- Trying to adjust the opener force settings to “fix” a heavy door. If the door fails the balance test, the answer is new springs, not cranking up the opener force to compensate. Over-torqued openers are how doors crush things in the driveway.
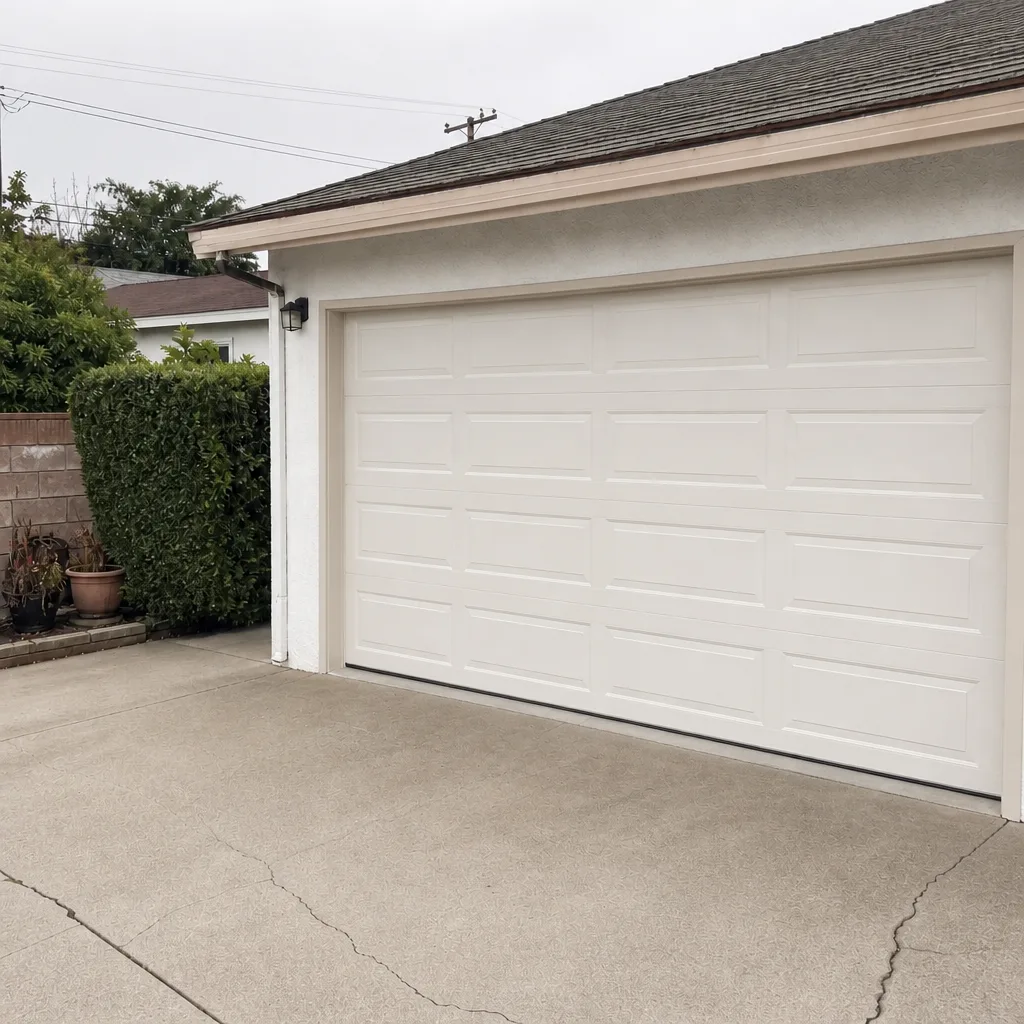
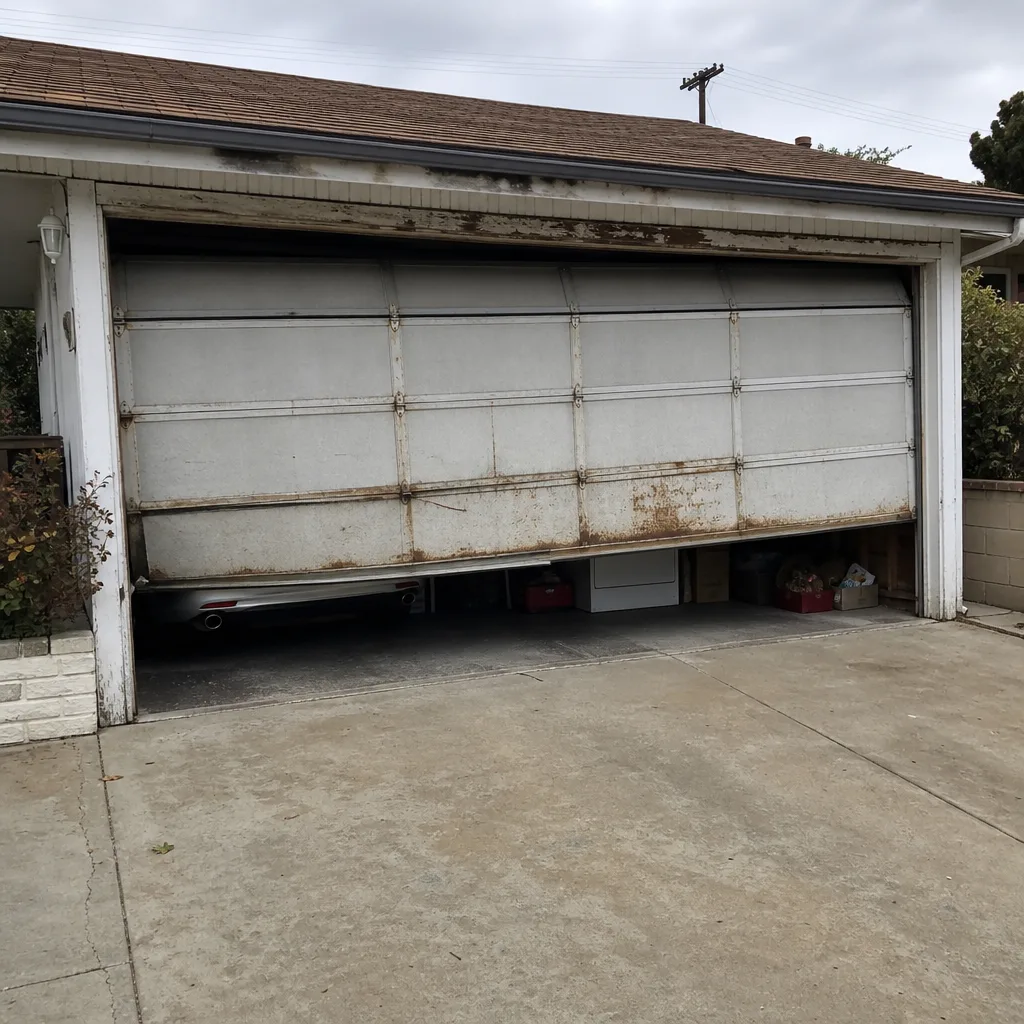
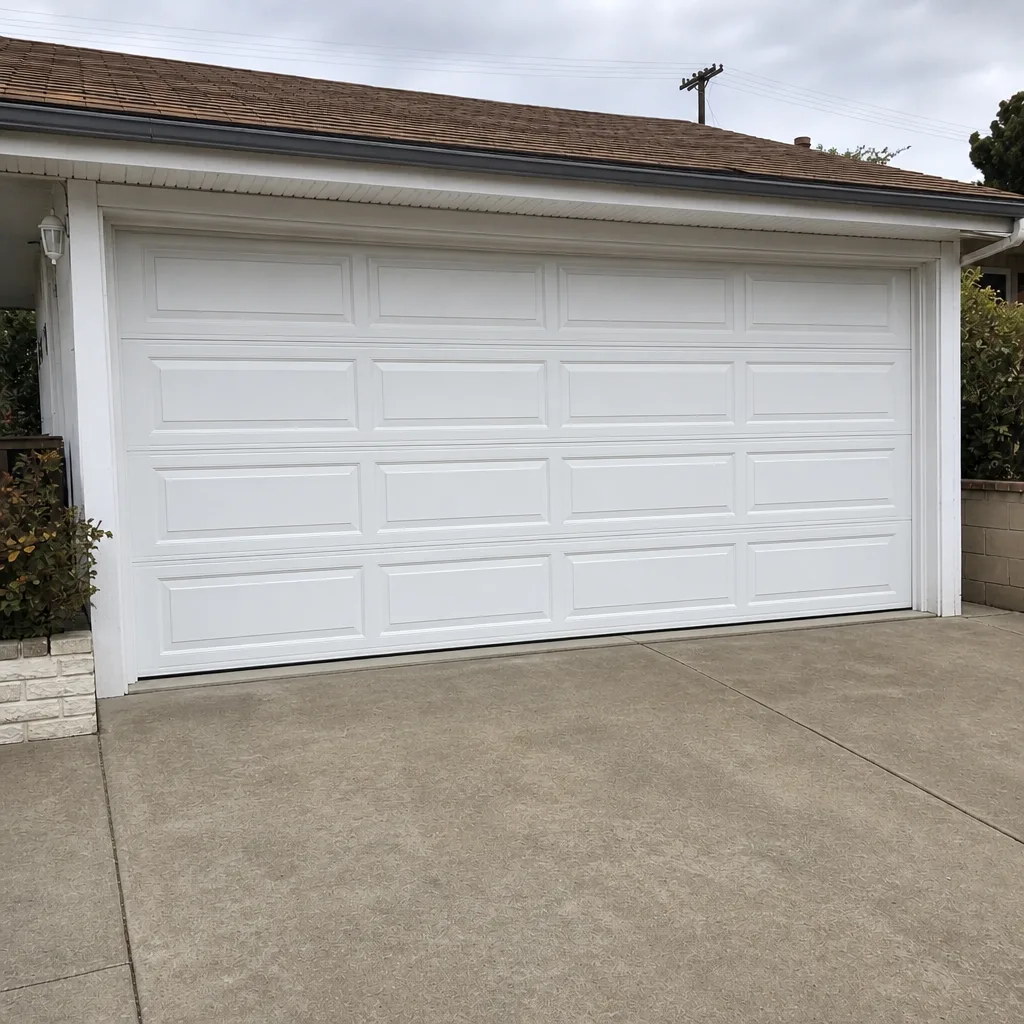
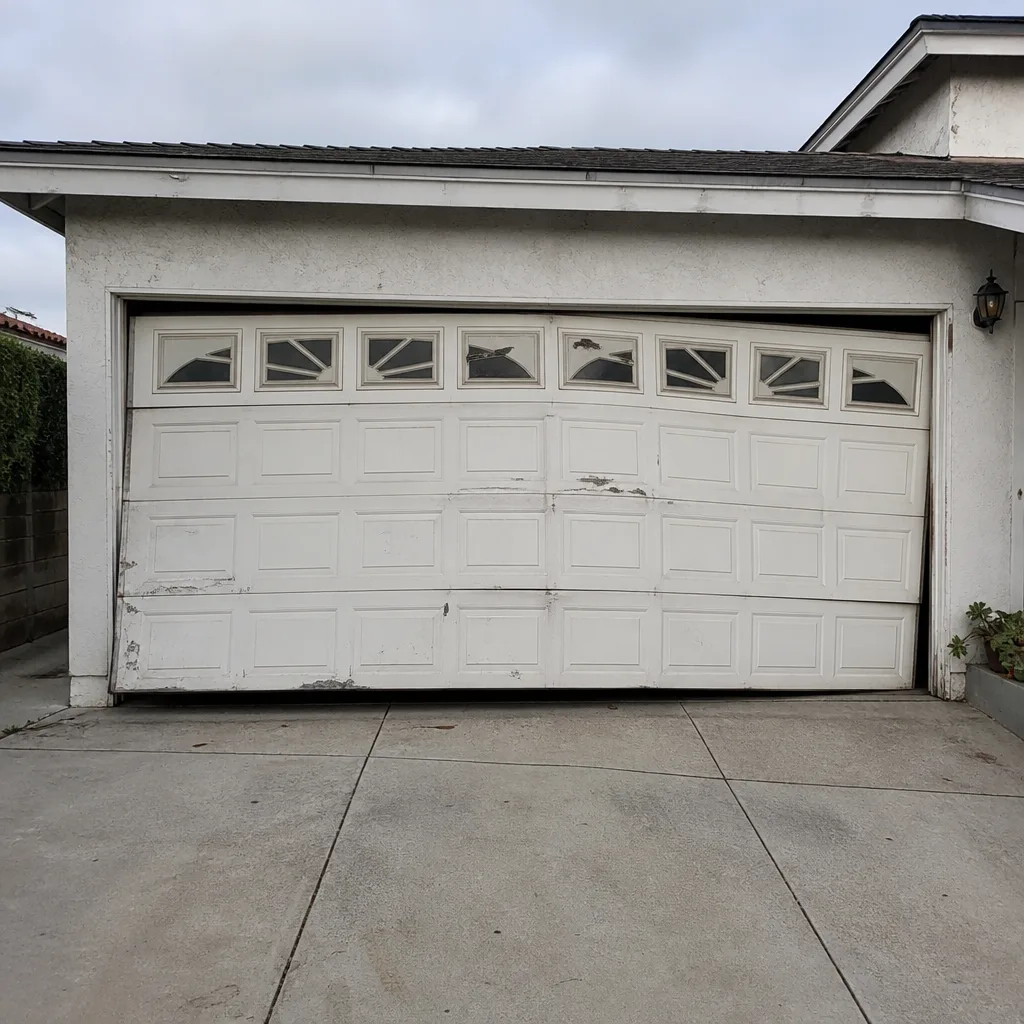
See the difference
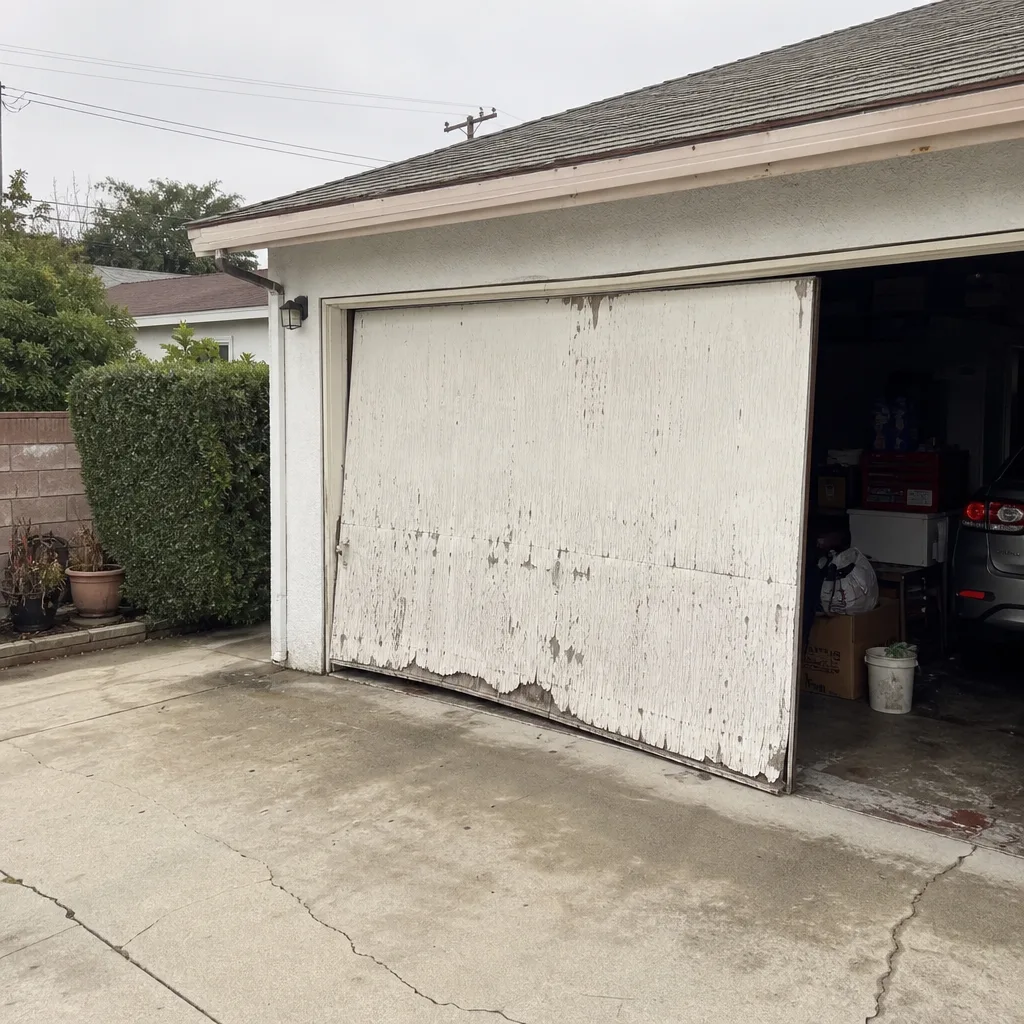 Before
 After
 Before
 After
 Before
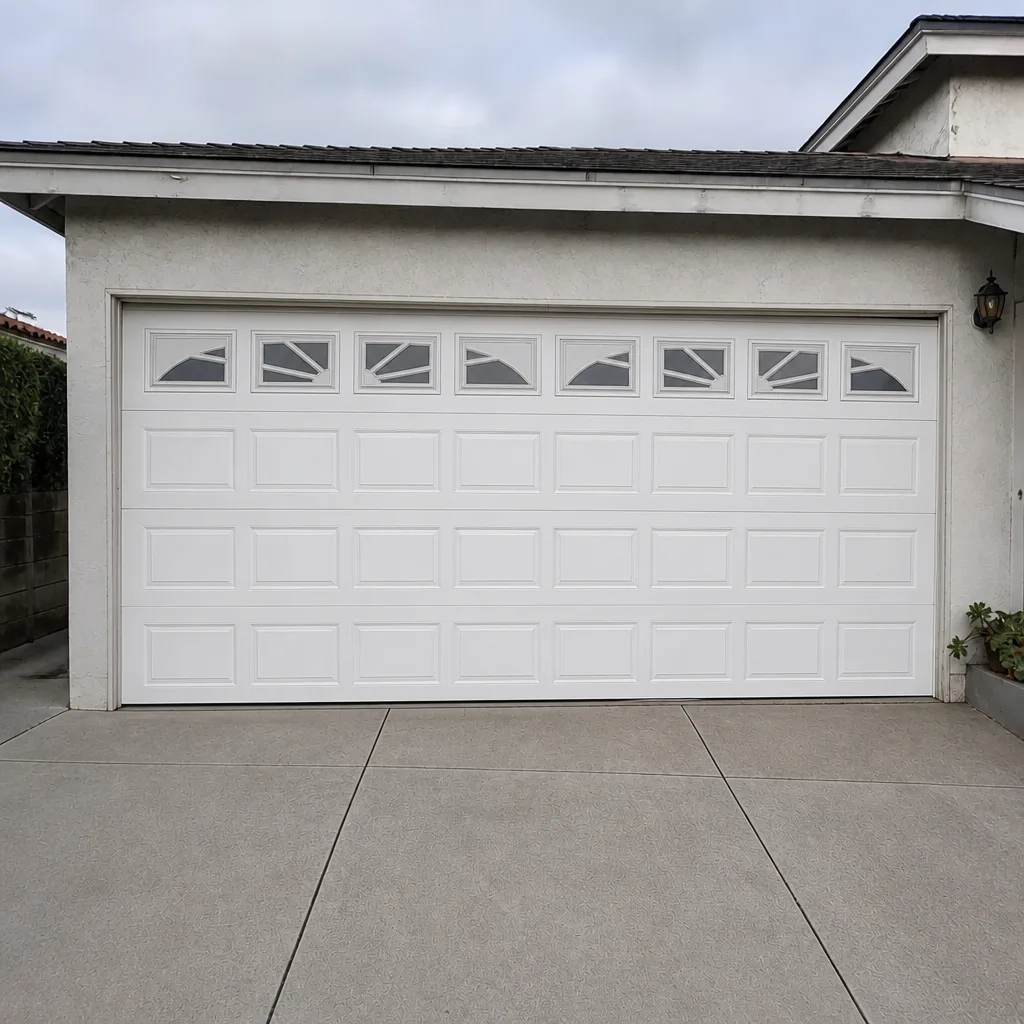 After
When to Call a Professional
Some tasks on this checklist are homeowner-level: cleaning lenses, running the balance test, applying silicone to springs, replacing a bottom seal when the channel is clean. Others are not. A snapped or gapped torsion spring, a frayed cable, a bent track, or an opener that fails the auto-reverse test are all professional calls. The common thread is tension and force. Anything under spring tension or cable tension carries real injury risk, and the tools and training required to work on it safely are not worth improvising. Stonegate Garage Door Repair offers free estimates in Monterey Park. Call (844) 972-4229. We answer 24/7. Fast dispatch from 7am to 7pm, Sunday through Friday.
Frequently Asked Questions
Run the functional tests (balance test, dollar bill test, auto-reverse test) every 90 days, and inspect cables, springs, rollers, and seals visually every month. Apply silicone spray to springs and roller stems twice a year. Monterey Park’s high-UV, low-humidity climate means rubber and nylon parts degrade faster than in coastal areas, so check bottom seals and nylon rollers more frequently than national guides suggest.
The clearest signs are a visible gap in the coil, heavy rust at the ends, a door that feels heavy when you operate it manually, and a door that slams down during the balance test. Springs under tension are dangerous to work on, so if you see any of these signs, call (844) 972-4229 for an inspection. Estimates are free.
Yes, with the right products. Use silicone spray on torsion springs and roller stems, white lithium grease on hinge pivot points, and nothing at all on the track. Never use WD-40 on springs. If you’re unsure which product goes where, we can show you during a service visit and leave you with a written spec for your specific door.
The most common cause is dirty or misaligned photo-eye sensors. Wipe both lenses with a dry cloth and check that the small LED lights are solid, not blinking. If the problem persists, the opener’s travel limits or force settings may need adjustment, or a sensor wire may be damaged. We diagnose these issues as part of standard garage door opener repair.
Bottom seals typically last 2-4 years here, shorter than the 5-year national average, because of UV degradation. Nylon rollers often last 8-12 years but can fail earlier on doors with heavy sun exposure. Torsion springs are rated in cycles (often 10,000 cycles for a standard spring), and a door used four times a day will reach that in about seven years. Your usage pattern matters more than calendar age.
We service the eight most widely installed garage door and opener brands in North America, including LiftMaster, Chamberlain, Genie, Clopay, Amarr, Wayne Dalton, Craftsman, and Raynor. That covers nearly every system already in Monterey Park garages. If your opener or door is from one of these brands, we already know its quirks before we arrive.
The Bottom Line
A garage door maintenance checklist only matters if it changes what you do. The balance test every 90 days catches failing springs before they snap. The dollar bill test catches a shrinking bottom seal before the winter rain finds the gap. The right lubricant on the right parts prevents the two most common self-inflicted problems we see in Monterey Park: WD-40-damaged springs and grease-caked tracks. And a halfway-decent maintenance log turns your next service call from a guessing game into a targeted repair. If you find something on your inspection that gives you pause, write it down, snap a photo, and call (844) 972-4229. We’ll tell you whether it needs a technician or just a watching eye. Either way, the estimate is free.
Written by the team at Stonegate Garage Door Repair, serving Monterey Park since 2012.